Quick Start Guide
1. Add a new project
Each project involves the following parts:
- Activities: chats, video sessions, diaries, discussion boards, questionnaires, and other modules.
- Participants: respondents, moderators, clients, or visitors
- Emails: invitation, reminders, or follow-ups
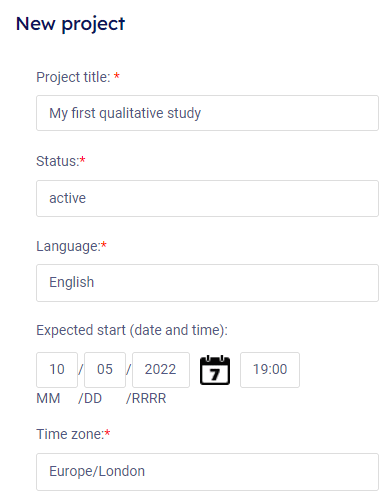
To create a project, define the basic project settings first – the project name, language, time zone and the start date. There are many other attributes in the project settings (points, consents, customization, etc.) but they are not required in the beginning.
How respondents join the project: each respondent has a unique invitation URL address (for example https://app.collabito.com/12345/1234567890123456 ). If the respondent clicks the link in an email, he/she will be automatically logged in to the project.
2. Add pages
A page represents one activity or a task. It has its own item in the respondent’s Activity menu. You can combine different types of activities in the same project – for example, a welcome text page, text chat, several daily diaries, and a final video session at the end of the study.
Page types (modules):
- Video chat: a video focus group with moderator and respondents using webcams
- Text chat: a text-based chat room between moderator and respondents
- Diary/blog: participants complete tasks – submit opinions, experience, add photos, etc.
- Bulletin board: common thread-styled discussion board
- Questionnaire: respondents fill in questions in a form
- Text page: used for introduction, thank-you pages or other information
Page properties
Each page has its custom setting where many attributes can be adjusted.
- Page title: the name displayed in the Activity menu.
- Status: active, closed, auto-activation by date or completion of other tasks.
- Visibility in the menu: you can adjust whether respondents can see the page in the Activity menu or not.
- Visible for groups – you can split respondents into different groups and show them different tasks.
- Page intro texts: her comes the task text or question that will respondents see on the top of the page.
- Section – you can split activities into various groups (by days, topics, etc.).
- Some page types has specific settings (moderator’s guide, media upload, etc.

3. Add participants (respondents)
Add respondents manually or use the bulk import.
- Display name (visible in chats, blogs), usually only the first name. If you have multiple respondents with the same first name, you can add the first letter from their last name to distinguish them (Peter M.).
- Name: visible only in your agenda to identify the correct respondents. You can use full names here.
- Phone, gender, and other optional details are visible only to moderators, not other respondents.
- Group – respondents can be assigned to groups.
- Status – active means that the respondent can join the study. You can deactivate any participant so he cannot enter the project.
- The system generates a unique invitation link for every respondent.
Add moderators, clients, visitors
The account owner or team members are also moderators by default, no need to add them as moderators. Moderators are defined on the project level – they can see only assigned project, not all your projects (unlike the account owner or team members).
You can invite a client to observe the study. Moderators can communicate with the client during the live chat in the secondary chat window. Visitors can only watch the project.
Invite respondents
Inform your respondents when your projects starts and send them their unique link to your project.
Collabito can send the emails for you:
- Go to Emails (in the project menu)
- Add new campaign
- Select recipients and click the Create campaign button.
- Set up the email. Use the the automation tag {url_project_login} in the text and Collabito will replace it with the correct URL and password for each recipient automatically.
Please note that if you send emails and use your address as a sender, some email systems can flag these emails as spam. Don’t forget to test it before you send the bulk email to respondents.
Do you want to learn more?
We have prepared several tutorials for you that will show you the Collabito basics. Please check the Tutorials section for all learning resources:
- how to set up a new project
- how to moderate live chat session
- how to moderate diaries and bulletin boards
- how to send email invitations
- and more